Friday, February 07, 2020

Shako II - Quatre Bras scenario

Game using the ever excellent Shako II today at Stephens.

Stephen selected the Quatre Bras scenario from the rule book to get us back into the rules.

And what a playable breath of fresh air from our recent travails with Bataillie Empire, with minimal rules queries and an enjoyable action packed game that did not feel like pulling teeth !

Scenario depicts main phases of battle after initial stand by Prince of Orange with French in possession of Gemincourt and Dutch-Belgians in Bossau wood bulk of both forces are arrayed on table with Reserves arriving on first couple of turns with Cookes British Guards arriving on turn 6 and Kellermans Cuirassier on turn 7 of a scheduled 12 turns.

Stephen had set up table and deployed his forces and I was shocked at how close the deployment areas were with us both setting up within effective Artillery range.

A dense mass of units meant not much in the way of manouvre possible (but in keeping with the battle) and a hard slog and pounding in store.

French Division Foy in centre suffered right of the bat from attention of Allied guns as they advanced with Bachelu in charge of French right but facing the Elite Highlanders and 95th Rifles.
The French left wing under Jerome arrives on first turn and essentially down to them to assault Bossau Wood.
Pires Light Cavalry appear on road near Gemincourt but nowhere to deploy until battle spreads so I placed them in Reserve behind the ridge but they still took a couple of Staggers from Artillery ball bounce-through.

A violent tussle ensued in Bossau Wood as French in massed columns preceded by Skirmishers assaulted the Dutch Belgian forces.
Several attacks driven back by point blank volleys but others crashed in pushing the Allies back.
Stephen managed to pass all his forced interpenetration rolls (no passage of lines in Shako except for Skirmishers) but eventually the French forced Morale Checks on his Dutch Division with it going Demoralised and then Broken (ie removed from table) but not without loss to the French.

Of course beyond the wood a fresh British Division had now arrived to support the British right alongside a Cavalry Brigade in reserve, so Jerome went over to defensive in wood.
Foys Division was being slowly but surely ground down and several desultory assaults by French were easily beaten off and his Division was in tatters.

Pires Cavalry however now had room to deploy and threaten the Allied Infantry.

Bachelus Division on French right pushed ahead but despite some success (including dispatching the 95th Rifles !) could not best the Elite Highlander Battalions and his Division too was battered and bloody.

As Kellermans Cuirassier arrived we called time with the game unfinished but the fresh Allied reserves would I think have made any further progress towards Quatre Bras crossroads unlikely even though the French Cavalry was as yet uncommitted.

Great game with great set of rules and as the preceding verbiage shows the emphasis was on action and tactics not rules problems/interpretations/headaches.
Think we were both maybe a bit lax with units deviating from Attack Order direction and also with Artillery 'firing in support of their own Division' (only Army Guns can freely select targets) but we both agreed that Shako has never delivered a 'bad' game for us.


Division Jerome advances to Bossau Wood


Division Foy in centre suffering from cannon fire


Division Bachelu attacks on right across the stream


Lots of Staggered (yellow puff) units and casualties from artillery


French assault develops on right 


First British Reserve Division deploys on their right


95th Rifles holding edge of wood  


Centre of Allied army with Wellington to right of Quatre Bras village


The battle for Bossau wood in full swing 


Columns repulsed, columns advancing, blood and mayhem...................


Pire's Cavalry cross stream as Division Foy runs out of steam


British Reserve stands poised to intervene if required


French have Bossau Wood 


And go on to Defend orders as this awaits them beyond the wood............


Foy's advance stymied


So many hits and Staggers with little damage to Allied centre.


95th Rifles counter charge and destroy a Legere unit but are now exposed in open and were subsequently routed by follow up unit.......Huzzah !!

Wednesday, February 05, 2020

Rebels And Patriots - Tuesday Warriors bash

Game at Bryns with Billy (Tuesday Warriors as I have named this group) using the recently released 'Rebels and Patriots' rules from the glossy Osprey stable and also one of the 'Lament' series of rules.
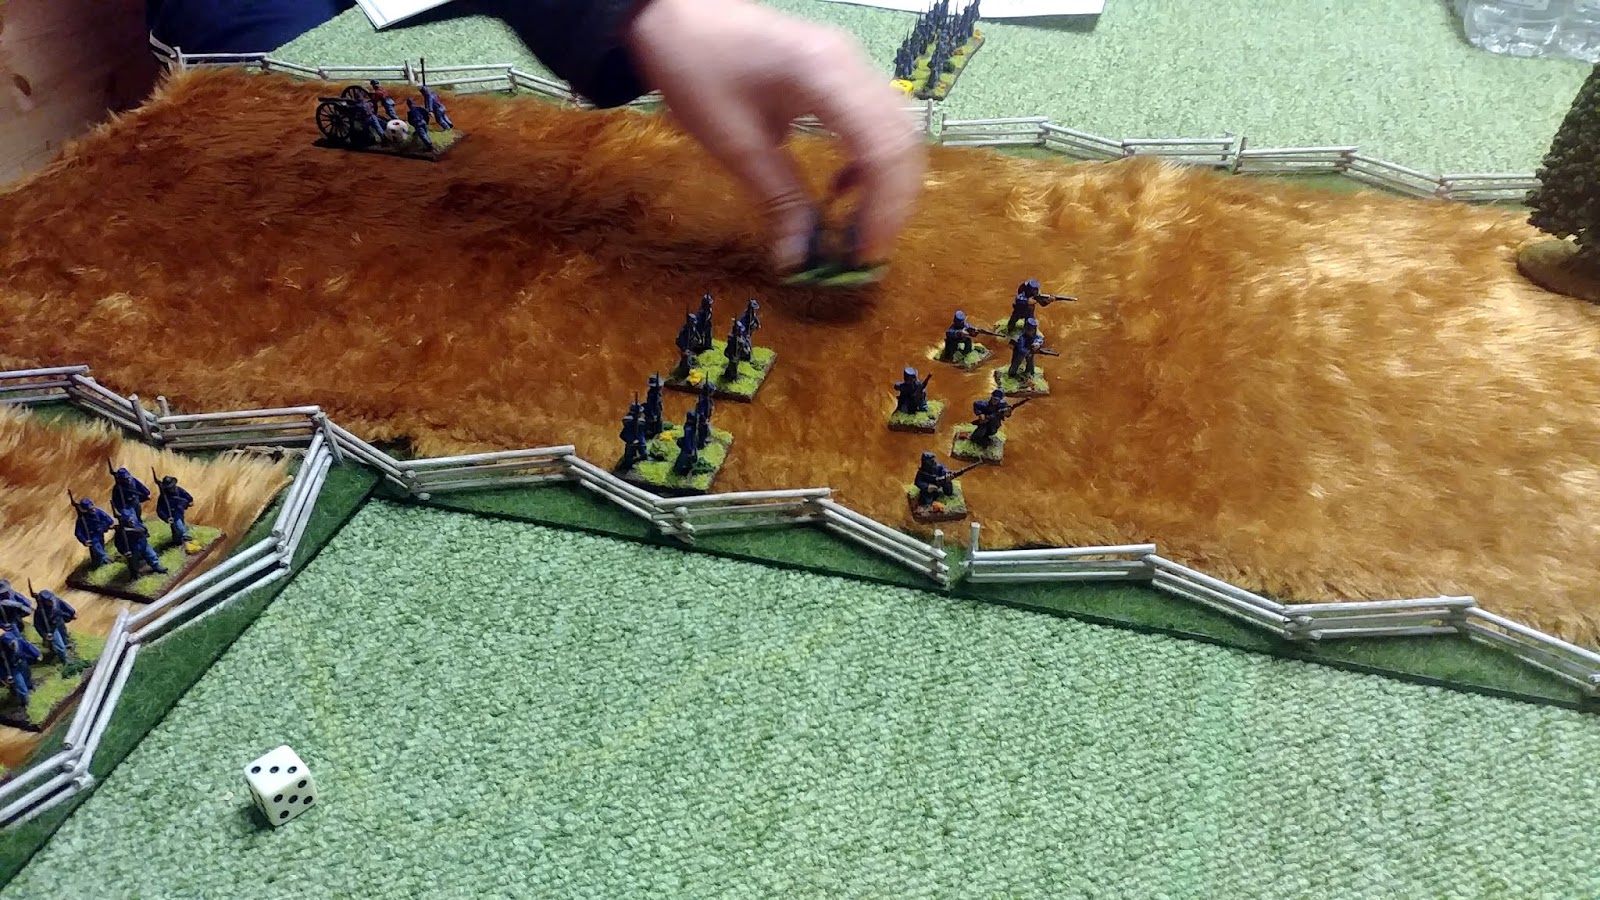
Bryn set up an ACW encounter with his excellent 28mm troops (a mix of Perry plastics, Fronk Rank and ?) with Billy as Feds and yours truly as Rebs.

Rules cover several American based war periods from mid 18th Century through to 1865

I did not have the rules but did find a QRS (although seems it was bit different from Bryns) so had an idea of game play.

Fairly simple with units activated via 2D6 rolls against target of 6+ to execute various orders such as Move, Fire, Attack, Close Order and so forth, nothing taxing in any of this.

Double 1 or double 6 rolls yield bad and good random effects such as 'Fire on nearest friendly unit ' or 'gain plus 1 to Discipline' type stuff.

Movement is free and easy as units not in Close Order essentially operate on a 360 degree basis for everything.
Obstacles (walls/fences) take a move to cross but no actual rules for Buildings as such, which author passes off with 'too hard to write rules, so sort it yourselves', hmmmm, I confess I would rather have a rule or even guidelines rather another eye candy picture (they are very nice though being its Osprey publishing)

Firing is usual buckets of dice system with 6-12 dice rolled per unit depending on status (Skirmishing or Disordered) hit on 4-6 depending on firer (Artillery, Standard Shots and Poor Shots respectively).
These 'hits' are then converted in casualties based on a standard of 1 figure per two hits but adjusted by various factors such as cover, target formation.
So say you generate 4 hits this might be 2 casualties inflicted (1 per 2) or only 1 if behind cover (as now 1 per 3).
Simple and intuitive.

Units are 12 men for Line, 6 for Skirmishers and Guns have 4 (?) crew think Cavalry are 6 if Light 12 if Heavier types (?).

Units Rout after 3 Disorders which are very nasty as half shooting/fighting dice and -1 per Disorder on Morale Tests.

Commanders are odd beasts as they are attached to a single unit throughout the game not being able to attach/detach, although with small number of units per side this is not really an issue.

Morale is tested per unit for each casualty suffered on 2D6 needing 6+ adjusted for several factors, and aided by having Commander within 12".

And herein we discovered a problem as not 100% clear if you Test for every unit that is Routed within 12" (which caused a domino effect of tests/failures for both sides) as rules say 'Test if unit Wiped Out' without defining wiped out, but at others state 'Test if unit removed from play with 12" ' which is what happens when a unit Routs ie it is removed from play.

In first game (we managed two plays) this was a major issue as I caused a couple of casualties on a unit which failed it Morale with awful double one causing it to Rout and causing several tests on other units within 12" which on the smallish table sizes (think standard is a 4' x 4' for standard 24 point force size ?) and another Rout caused yet more Tests.
If you fail you generally take a Disorder but can take 2 on low roll.
There is a Rally order but it has same inherent risk of taking additional Disorders
Billy then did same to me an I lost a couple of units and others took Disorders (note we both had Green Troops as standard with -1 for tests).

We felt that not really a game as a couple of casualties and both our forces were wrecked (both had 2 Line and 2 Skirmish units lost).

Morale Tests can be very brutal the caveat being that a Pass removes all Disorders (expect if unit at half strength as this incurs a permanent Disorder).
Certainly produced a very quick outcome !

So we reset game (with Bryn joining in on Yank side) and decided that these 'within 12 inch' Morale Tests would only occur if triggering unit actually wiped out (although fairly sure this would be an extremely rare occurrence) and it did produce a much better game as units could remain in situ and intact without Disorder much more frequently.
But sadly I do think this is against rules as written.

Also unclear is that rules also state that Tests have a -1 if more than one reason to test but again not really well explained.
Does this mean if a unit Routs besides you, your unit tests but if another Routs beside yours immediately you do or do not test again (as rules say for each reason to test you test) ? when does this -1 actually happen ?

All in all a nicely produced and presented fairly simple set that include several army lists and several scenarios with low rules overhead (despite the Morale issues described) that are easy to teach and good for a club night with limited time, and with added bonus that number of figures required is fairly low (depending on troop mix/types/traits/abilities chosen about 30-60 figures required).
But having played these and Sharp Practice I do think the Lardy set has a lot more depth and replay value but to each their own.
R&P are certainly very well priced (under a tenner currently for softback/PDR/ePub).


Monday, February 03, 2020

Liberty Or Death COIN again

Another try out with Liberty or Death COIN game tonight with my Dad.

Tried the Medium scenario and Dad stuck with the British/Indian combo against my Patriots/French.

Another great game with this most excellent system.
Managed to play through 3 out the 4 Winter Quarter cards with Rebels ahead but not quite at auto Victory levels.

Only issue with LOD is that it tad slower to play than other COINs we have tried due to a few ‘if ‘ ‘and’ or ‘but’ options with Commands especially for British with the influence of French blockades or lack of same being key factors.

I thought the battle procedure would slow things but not the case as fairly easy to sort and don't occur that often.


Saturday, February 01, 2020

A Distant Plain - 3 player

Got 'A Distant Plain' onto table today for a 3 player game, was to be full 4 ball but Le Duc caught in a foreign land (well stuck in Dublin) so 3 it was with Richard and Mr P.

I took control of Coalition and Warlords with Mr P as Afghan Government and Richard as Taliban nasties.

We managed to play through 3 Propaganda cards (used Medium scenario with 5 Prop cards) which was good considering first time for both chaps.
So not finished but great fun with this excellent game from an excellent series.

Mechanically easy to play but so much depth and varied decision making for each player backed up by decent historical context (the event cards).


Only one poor pic from game (and one from prior set up) as engrossed and sun kind of blinding !


Rapid Fire - Normandy scenario at Elimination Club

Game using Rapid Fire II (a set I have not used since before I started this Blog !) tonight at Elimination Club.
Very much a last minute venture as unsure if I could make club and then seemed as if no other games on (as it turned out a massive Black Powder League of Augsburg 12mm game took place).
I found a small (1 Battalion a side) Rapid Fire 'official' scenario for an action on 28th of July 1944 near Grainville during Op Epsom that I used my 15mm kit for.
Action sees 9th SS Kampfgruppe counter attacking elements of 15th Scottish Division dug in around a Chateau near Granville.
Was unsure of how so small a game would play with RF but twas fine.
I played with Chris who took the Germans and I the British (only right and proper of Brexit Friday !).
Game play is fast and furious with RF despite my struggling to recall several parts of it, especially Artillery which has changed a tad from initial version, with the 9 square grid being  no more (expect for rockets) and the standard 4" target circle used.
Game is still essentially '6 hits 1 misses' type deal but no 'worse' than say Battlegroup with less rules overhead or quirks/gimmicks.
A good solid WW2 game overall.
British held out against the SS who suffered from my off-board 25pdrs only managing to take 1 Objective whilst losing all their armoured support with 2 Panther troops, a Flamewerfer PzIII, and a Sd251/9 all falling foul of some uncharacteristic good rolls (has the worm turned !!??).
British lost several Infantry and 1 Churchill with another suffering Light Damage.
The Anti-Tank/Armour system is as basic as I recall but fine for what it aims to do (pardon the pun) and there are several alternative versions around but not sure worth complicating a simple system.


Churchill Squadron advances passing the Chateau


9th SS appear


Dark 'road' standing in for a railway line.


Table tennis table gave plenty of space for game


Defender dug in around Chateau (red marker indicate those on Reserve Fire)


A Churchill Troop brewed as another suffers Light Damage 


But SS Panther are now burning !


Germans occupy village on their left


As British do same on their left


The other club game was a huge affair (12' x 4' ?) with several players and a ton of 10/12mm figures (think a combo of Kallistra and Pendraken ?) on table along with some very nice wooded areas (courtesy of Shane I believe ?).
The 10/12mm stuff is getting very close to old 15mm in size but the animation and detail is impressive.
Black Powder being used although I thought they were building these forces for War Of Three Kings set ?
Impressive and all I know is Simon's wing held whilst compatriots centre and other wing collapsed, but as to who was how or what I am at a loss as too busy fighting Nazis !
Strangely these pics turned out better than those of my own game....................